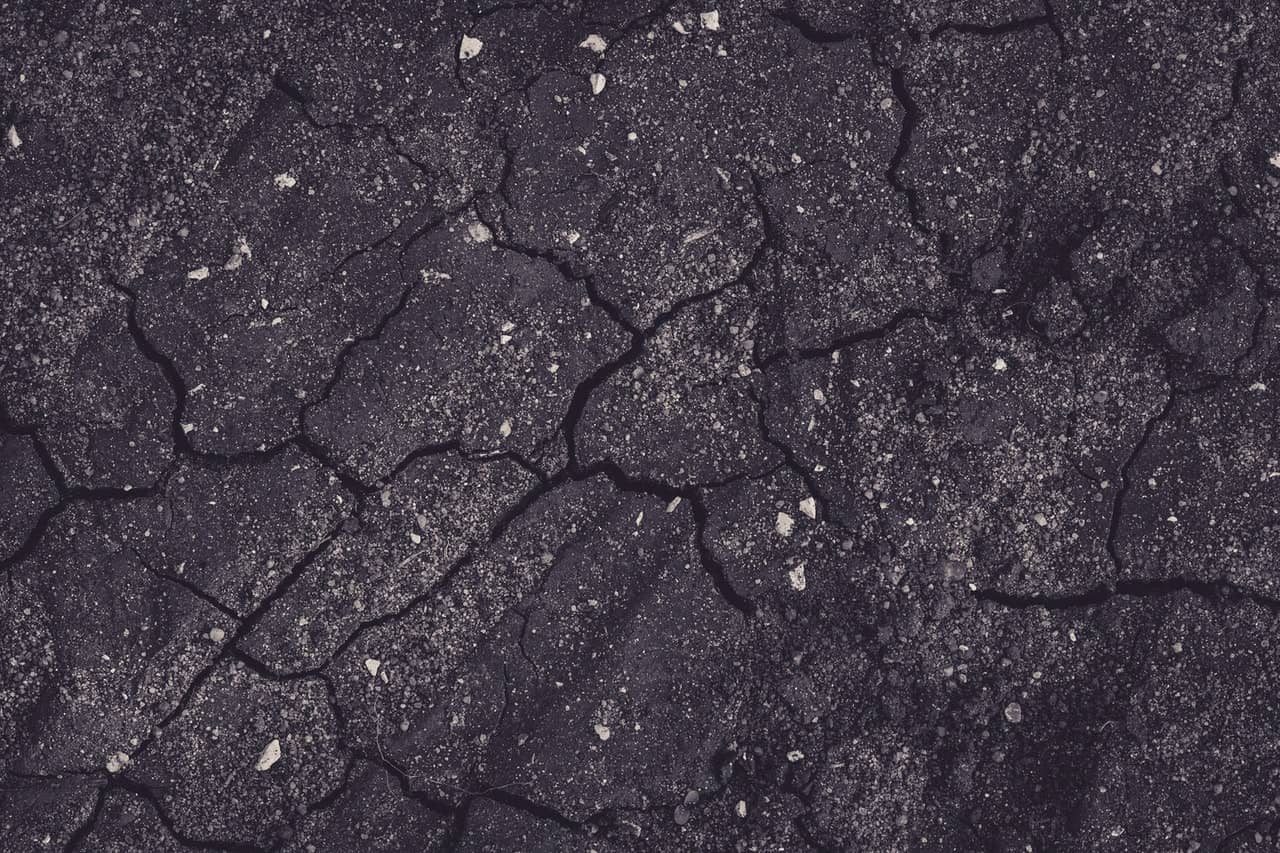
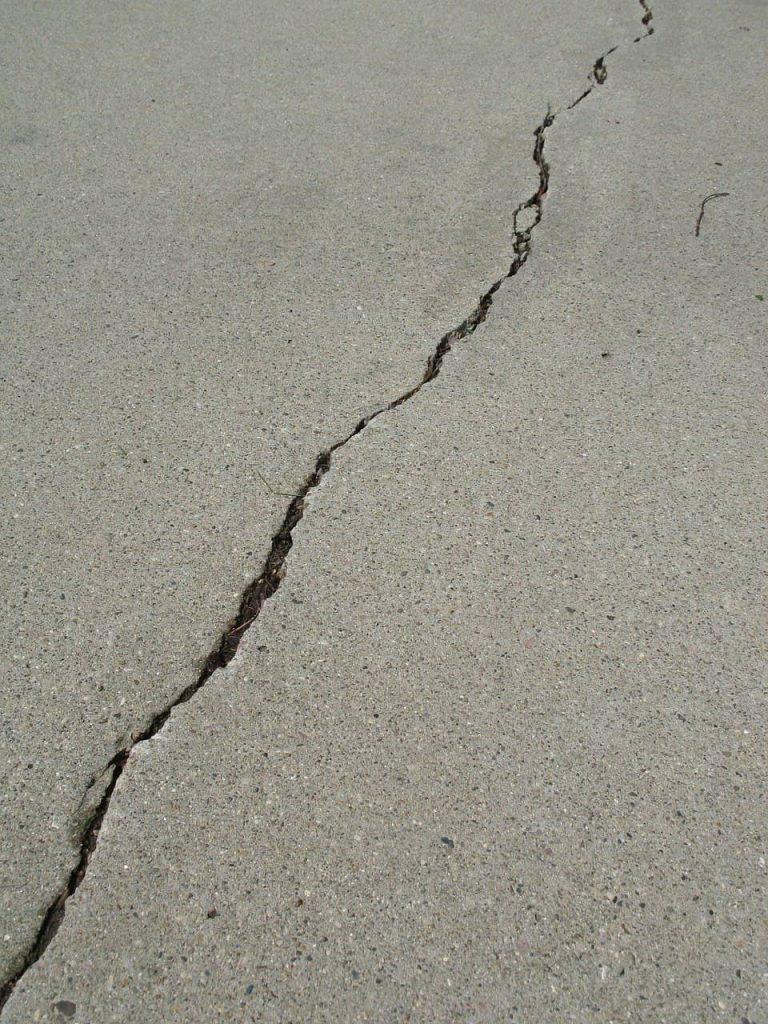
Driveway and sidewalk cracks are very common, and these cracks can form as a result of many factors but are typically caused by cycles of aging, a settling subbase, and freezing and thawing cycles. When left untreated, the cracks can lead to moisture entry, which can cause eventual erosion of the underlying subbase under the concrete or asphalt.
Although driveway and sidewalk cracks are natural and common, there are ways to avoid such problems altogether. While resurfacing can serve as a solution in some cases, it’s not always necessary for fixing cracks. Taking proactive measures is the most effective way to prevent the damages from forming, and it’s best to take action before these cracks extend and worsen. Believe it or not, patching cracks in driveways and sidewalks can be a simple, do-it-yourself project. Find out more about how cracks are caused, what you need to fix them, and how to get started with Reveal Homestyle’s guide to crack filling your driveway or sidewalk.
How does seasonal weather affect asphalt
As mentioned before, driveway and sidewalk cracks can be caused by several different factors. The ever-changing year-round weather patterns pose a significant threat to asphalt and other pavement formulas. As each season brings about new weather conditions, asphalt driveways, sidewalks, and roads are impacted by heavy rains, snow, ice, and ultraviolet rays from the sun.
Asphalt Damage Caused by Seasonal Shifts
Asphalt cannot withstand years and years of seasonal shifts consisting of brutal winters and hot summers despite the material’s strong composition. The heat wears away at the asphalt and can create hairline cracks that progressively get larger.
However, driveways and sidewalks endure the most damage during the winter months. When sidewalk and driveway cracks are exposed to snow, ice, and severe freeze-thaw cycles, the subsurface layers begin to erode, which leads to the creation of air gaps. The air gaps collapse and form potholes. It causes a larger road maintenance issue that can lead to more substantial damage.
If you are working to prevent cracks in your driveway or sidewalks, it’s essential to take the necessary steps before and after seasonal shifts. By doing so, your pavement will be ready for harsh weather conditions, and, in turn, you will be able to save money on repeated repair costs in the future.
Guide to crack filling your driveway or sidewalk with the right supplies
Fixing cracks in your driveway or sidewalk can be easy, quick, and affordable when you have the appropriate supplies. If you’re planning on completing these repairs yourself, be sure you have the following tools and materials before starting the process:
- Latex gloves
- Wire brush
- Garden hose or pressure washer
- Broom
- Trowel
- Chisel
- Hammer
- Long-handled squeegee
- Protective eyewear
- High-quality crack filler of your choice
- U squeegee
Having the right tools at your disposal throughout the road repair work will make the project that much more manageable. If you have questions about which tools are best suited for your application needs, consult your local hardware store.
Find the Best Way to Protect Your Pavement
Now that you are familiar with the necessary tools required for your road maintenance let’s look at the various ways to fix and protect your driveway or sidewalks. The preventative or repair method used frequently depends on the material composition of the surface being worked on. When it comes to sidewalks and driveways, the surfaces typically include asphalt or concrete.
Check out these three ways to repair and preserve your pavement.
Asphalt Crack Sealing
To prevent pavement deterioration over time, asphalt crack sealing serves as the optimal solution for extending your surface’s lifespan. Using an efficient crack sealer or filler allows for the prevention of water accumulation and debris within the cracks of the surface.
Asphalt Sealcoating
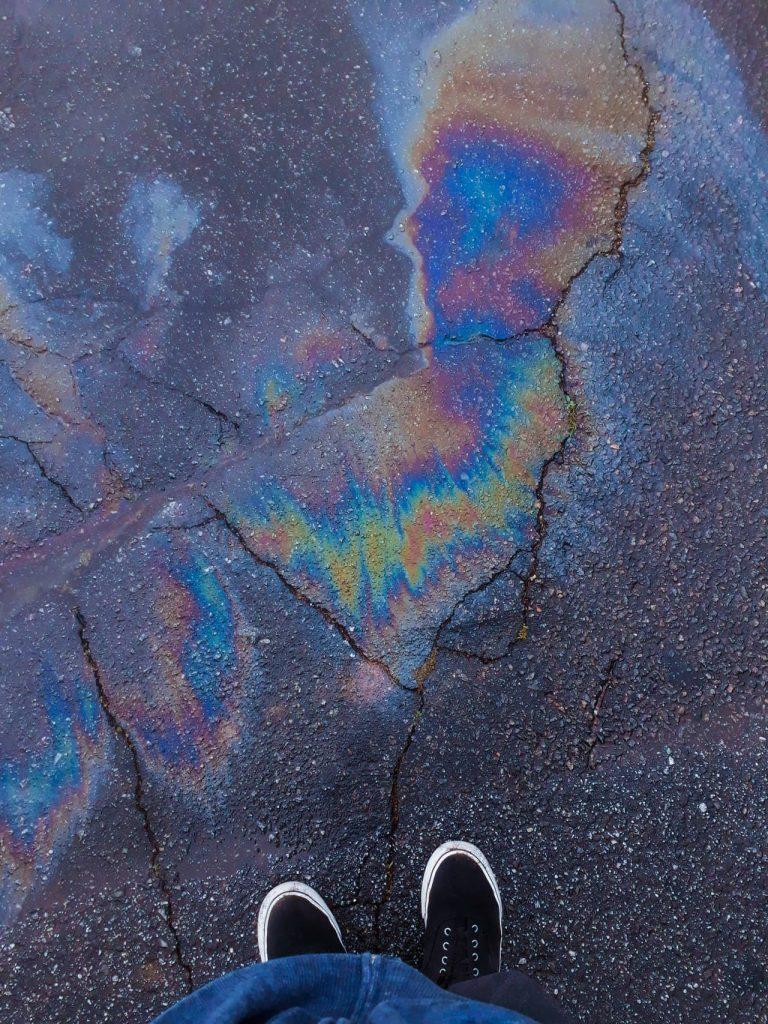
When it comes to protecting asphalt surfaces against oil and gas spills and stopping the expansion of existing stress fractures, seal coating is the recommended repair method. Asphalt seal coating is used to improve your intended surface’s appearance and extend life for many years.
Asphalt sealers are available in a range of options depending on your repair project’s needs or purpose. Four commonly used pavement sealers include:
- Coal tar sealers
- Asphalt sealers
- Oil-based sealers
- Acrylic sealers
Pothole Patching
When driveway and sidewalk cracks are not adequately treated, they can worsen and eventually lead to potholes. Once a pothole is formed, it’s crucial to repair them as soon as possible to prevent even bigger potholes from forming and ultimately leading to more costly damage.
Pothole repair mix is used to permanently repair potholes in your surface and to stop water from seeping into the sublayers of your pavement. Typically available in spring, summer, fall, or winter formulas, be sure to choose a product that aligns with your current season.
Preparation for Fixing Asphalt Driveway Cracks
Preparing your asphalt surface for maintenance is equally as important as the repair process. Before beginning your driveway or sidewalk repair project, make sure you budget yourself enough time for prep and repair. It’s best to clean, repair, and seal your driveway every few years for optimal preservation.
- Obtain the necessary repair supplies.
- Clean the cracks in your driveway or surface to remove dirt, debris, moss, weeds, and oil spots.
- Rinse the cracks using a power washer or garden hose with a spray nozzle and let it dry entirely before repair.
- Be sure no undermining of the pavement base has occurred. Undermining can be severe and require backfilling before any application of crack filler. If there is a presence of undermining, fill the crack partly with clean sand or backer rod. Crack fillers fill from bottom to top. If undermining has occurred and not supplied or isolated with backer rod, an additional crack filler may be required to fill the undermining and the crack. Crack filler will continue to flow into undermining until filled.
Now that your surface is ready to go, the repair process can begin.
Repairing Cracks in Asphalt Surfaces
Once you complete the preparation process, it’s time to begin sealing the cracks in the asphalt surface. Keep in mind that asphalt crack filler can be very messy, so be sure to protect any other characters that are not being repaired with the sealer.
The asphalt crack filling process comprises of the following steps:
- The surface should be dry or Saturated Surface Dry (SSD) and free of any standing water. Pour or pump crack filler into the crack ¾ of the length. Allow a few minutes for the crack filler to seep entirely down into the crack.
- Push the crack filler into the remaining crack length using a “U” or “V” shaped squeegee.
- You may need to apply multiple coats for deeper and undermined areas. If crack filler continues to sink in damaged regions of the crack, add additional clean sand and crack filler. Allow 1-2 hours curing time between coats. And remember, using a poor-quality product can affect your driveway’s long-term stability, so using a high-quality formula is crucial.
Repairing Cracks in Concrete Surfaces
As with asphalt surfaces, resurfacing your concrete driveway might not always be the most sensible repair solution, especially when the damage is minimal. In most cases, concrete cracks smaller than ½ inch can be fixed using a pourable crack filler and the necessary tools. The process for repairing cracks in concrete surfaces is similar to that of asphalt surfaces. Take a look at the following steps to start with it:
- Use a chisel to carefully widen the smaller cracks for the filler and remove away remaining debris from the area.
- Using a garden hose or power washer, thoroughly clean the surface to remove any dirt, moss, or weeds.
- Fill the cracks with your selected high-quality pourable crack filler.
- Press and smooth the cracks with a trowel or level the pavement using a squeegee.
- Allow the concrete repairs to dry before using the surface for vehicle traffic.
When done correctly and properly maintained, concrete repair is long-lasting, capable of enduring decades of harsh weather conditions.
How to Keep Your Driveway and Sidewalks Looking New
Once you’ve completed repairing the cracks in your driveway or sidewalk, you’ll want to make sure that the surfaces remain in the pristine condition to which you fixed them. Proper maintenance, performed regularly, is vital in preserving your asphalt driveways and sidewalks for years to come. Here are some additional tips that can go a long way in pavement preservation:
- Regularly clean your driveway to remove dirt, debris, and oil and gas stains.
- If your climate experiences snowfall, try applying deicing products to keep your surface safe throughout slippery conditions.
- Make sure not to let deicing salt build up over the winter seasons – power wash salt away once temperatures warm up.
- Consider using a plastic shovel when clearing snow from your pavement to prevent gouging marks or cracks in the asphalt.
Driveway and sidewalk crack repair is a cost-effective and straightforward process that any homeowner can take care of by himself. With the right tools and materials, keeping your driveways and sidewalks in prime condition has never been more achievable, regardless of your region or climate. Follow our guide to crack filling your driveway and Good luck with your repairs!